HOW TO DIY THIS EASY IKEA KALLAX OVERLAYS HACK FOR A HIGH-END CARVED DETAIL LOOK FOR LESS.
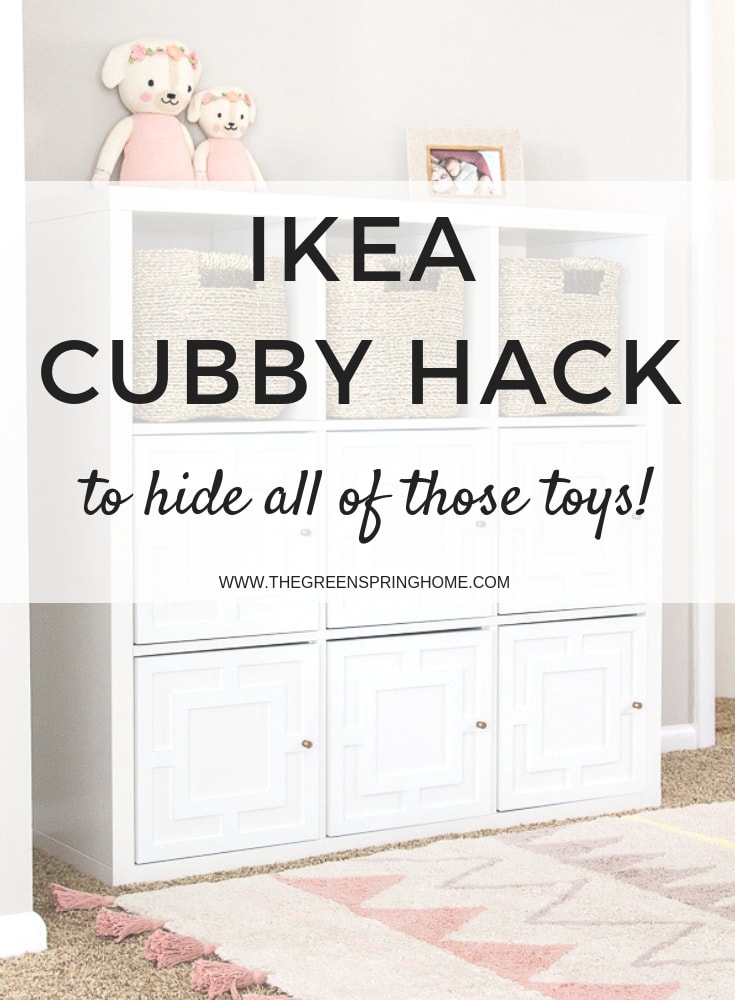
I’ve been working on my daughter’s playroom and I’m so excited to show you this easy IKEA Kallax Overlays Hack using IKEA Kallax door inserts.
Who said toy storage couldn’t be beautiful? Transform your basic IKEA furniture into beautiful hidden toy storage with just five quick steps.
You’re going to love this simple and affordable IKEA Kallax DIY project. It’s one of my favorite IKEA hacks to date!
Let’s get started…
A big thanks to O’verlays for supplying materials for this project! Disclosure: Affiliate links are used in this post, at no cost to you.
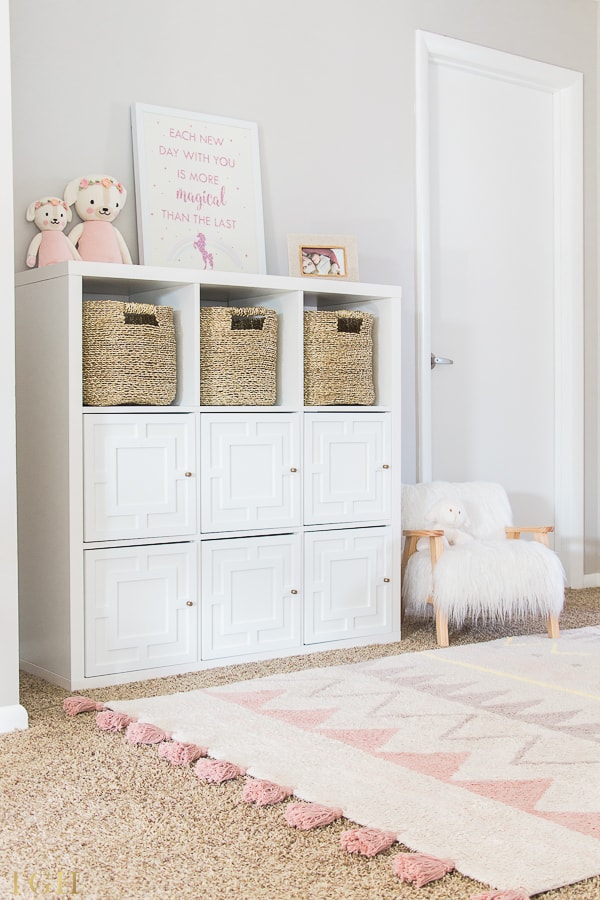
IKEA KALLAX DIY: HIDDEN TOY STORAGE IDEAS
Looking for hidden toy storage ideas?
Stay organized with the Kallax system and have a hidden place for anything and everything.
First you’re going to need to purchase the IKEA Kallax shelf unit ($79.99) and six of the Kallax door inserts ($102) to create this piece of furniture. It’s worth it to have both closed and open toy storage!
Imagine having clear bins with all of your child’s craft supplies neatly organized.
IKEA CUBBY HACK: HOW TO
Are you a mama on a mission to keep a beautiful home with kids?
You can use the IKEA Kallax cubes one of two ways. Either you use the Kallax shelf unit with nine baskets OR you follow this IKEA cubby hack for a great option for hidden toy storage.
Instead of going through all of the Kallax assembly details here, I’m going to refer you to IKEA’s instructions and if you get lost, check Youtube for more assembly tutorials.
Here are great Youtube videos on assembling the Kallax inserts and assembling the cube itself.
Once you’ve got your IKEA items assembled, you can follow my tutorial below.
Related: Decorate Your Playroom With This Easy Fabric Garland DIY
OVERLAYS IKEA DIY TUTORIAL
First of all, what are these door overlays? They are essentially decorative panels which you can install right over your IKEA products. They are an easy, great way to customize your IKEA Kallax cube shelf into a versatile piece.
Here are the five quick steps you’ll need to know for this DIY.
- Lay out all of the overlays on cardboard or plastic sheeting
- Paint the wooden overlays to match the IKEA furniture
- Put Liquid Nails on the back of each overlays panel
- Attach the decorative panels to the doors, let set overnight
- Drill a hole through the panel on each Kallax door for your hardware
I’ve included photos of each step to help keep you on track.
STEP 1: SET UP YOUR IKEA OVERLAYS
Set up your IKEA overlays on cardboard or plastic sheeting, evenly spaced apart.
You won’t want them touching for the next step when you start to paint them.
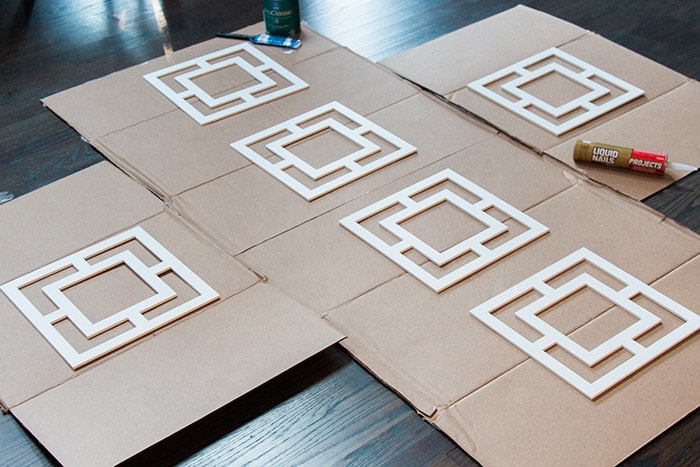
STEP 2: PAINT YOUR KALLAX OVERLAYS
Paint your Kallax Overlays with one quart of Sherwin Williams Pro Classic Satin paint. The standard white base matched the factory finish on the IKEA Kallax unit.
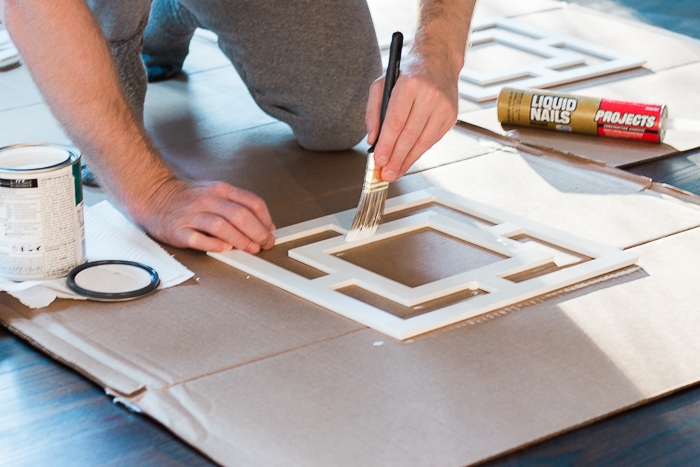
STEP 3: PUT ADHESIVE ON EACH KALLAX DOOR OVERLAY
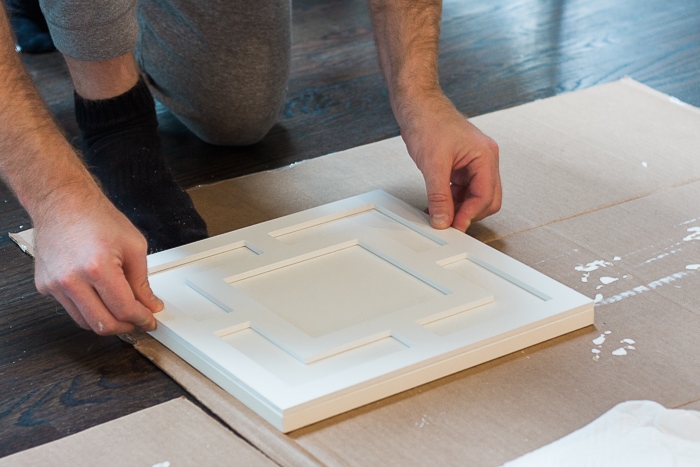
Put Liquid Nails adhesive on the back of each Kallax door overlay. Try to keep the adhesive in the center of the panel and apply continuously.
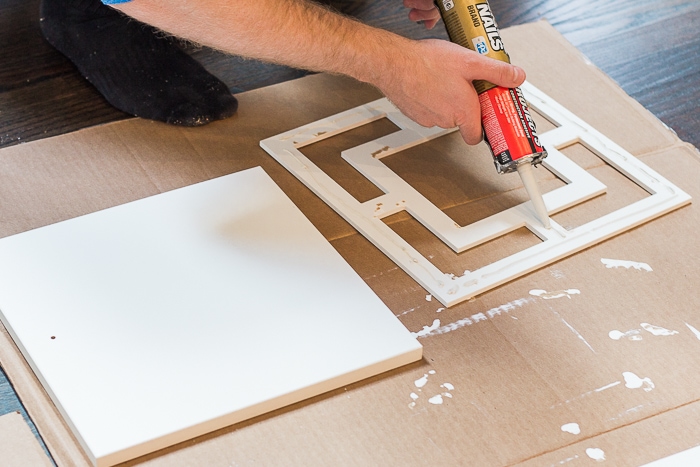
STEP 4: ATTACH THE IKEA OVERLAY TO THE KALLAX DOOR
Quickly turn over the overlays panel and attach it to the Kallax door. You can adjust the placement pretty easily when you first set it down.
STEP 5: SCREW THE HARDWARE INTO YOUR IKEA KALLAX DOORS
While we completed this project, we realized the screws included were not long enough to fit through the door AND the O’verlay!
So I took a screw into Home Depot and found the same ones in a slightly longer length.
I’ve included the correct screws you’ll need in my material list to save YOU time.
Like with any project, you’ll likely end up making multiple trips to Home Depot.
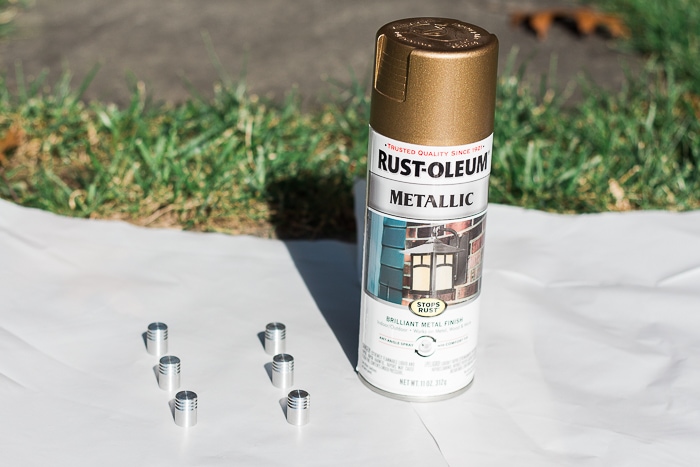
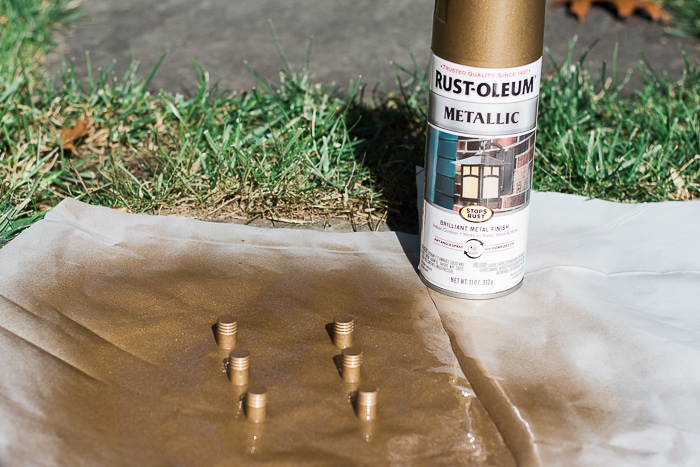
The IKEA Kallax door pulls came in a silver finish, so if you want gold hardware, you’ll need to spray paint them with Rust-Oleum metallic spray paint.
If you choose to, then lay out the hardware on cardboard and use two coats, letting them dry after each coat.
DIY IKEA KALLAX HACKS: MATERIAL LIST
In addition to purchasing the IKEA Kallax unit and IKEA Kallax door inserts, below is a list of all materials used.
- Six of the O’verlays Harper Thick 13″ Kit
- A quart of Sherwin Williams Pro Classic Satin paint in the standard white base
- High quality 1.5″ angle paint brush or paint sprayer
- Liquid Nails Construction Adhesive
- Large cardboard box, broken down
- Power Drill
- Rust-Oleum Metallic Spray Paint
- Six M4 x 25mm screws
OVERLAYS APPLIQUE IKEA KALLAX HACK
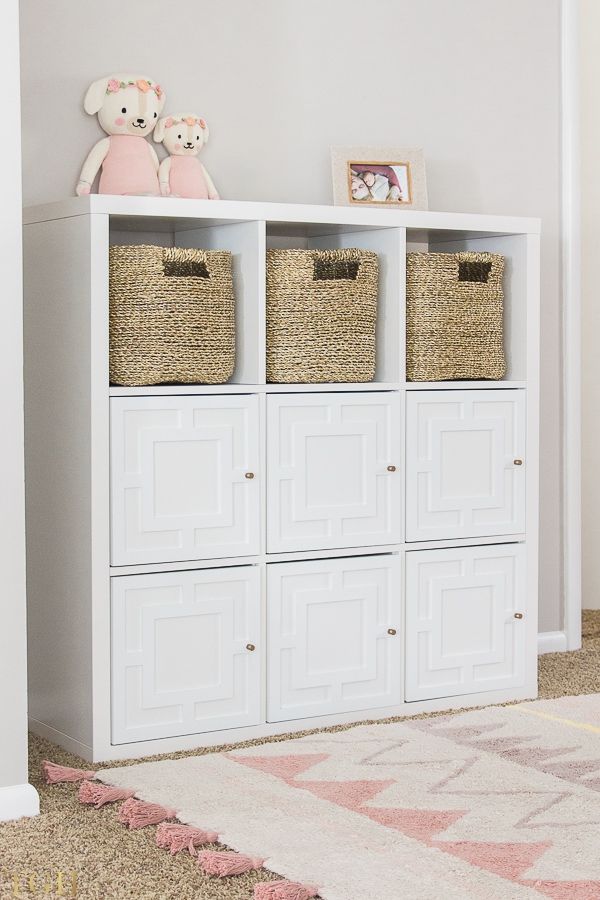
This was one of my favorite projects! It’s the perfect addition to our playroom and I love both it’s expensive look and functional storage space.
Storage cubes work great as a TV stand, in craft rooms, or in your living room for all of those ugly, bright toys!

Shop My Sources:
Shop My Favorite Baskets for a 13″ Cube Size:
Before You Go
Have you seen my tutorial on how to build an organized kids closet system for $100?
Related Posts
25 Gorgeous Playroom Storage Ideas to Inspire You
How To Build a Beautiful Baby Clothes Organizer
How to Design the Nursery of Your Dreams
Build This Custom Nursery Closet for $100
PIN THIS

I see you don’t monetize thegreenspringhome.com, don’t waste your traffic, you can earn additional
bucks every month with new monetization method. This is the
best adsense alternative for any type of website (they approve all sites), for
more info simply search in gooogle: murgrabia’s tools
Hey! Love the project. Where did you get the baskets from?
Thank you! 🙂 Here is the link to our baskets: https://rstyle.me/+jIVYODhnyNlTZssl22jtpg
For the overlays of your “ikea kellax hack” storage, what thickness did you choose, 1/4 or 1/8 inch ?
Hi Ron, I did the 1/4″ thickness. Thanks for following along! XO, Kelly
Hi, I have 1/4” thickness and doors do not open completely. Did I do something wrong or you had the same issues, how did you fix that?
Iris G.
Love this! What color Rust-Oleum spray did you use?
Hey! what color is on this wall in your playroom! i am in love with it!
Awe thank you! It’s Sherwin Williams Pediment 🙂 It’s a great light gray color! XO, Kelly
Where did you get your overlays? I see quite a few on Etsy but i really like the ones you have.
Do these little doors open? Are they installed on hinges?
Hi Lauren! The doors do open, they are attached with hinges. XO, Kelly
Hi Can the shelf unit be attached to the wall?
I believe most of IKEA’s furniture comes with stuff to attach them to the wall!
Thank you! Did you recess the door insert to accommodate the panel thickness? My apologies if I missed that in your instructions.
Hi,
Beautiful work. I might have missed that part, but where did you buy these overlays appliqué?